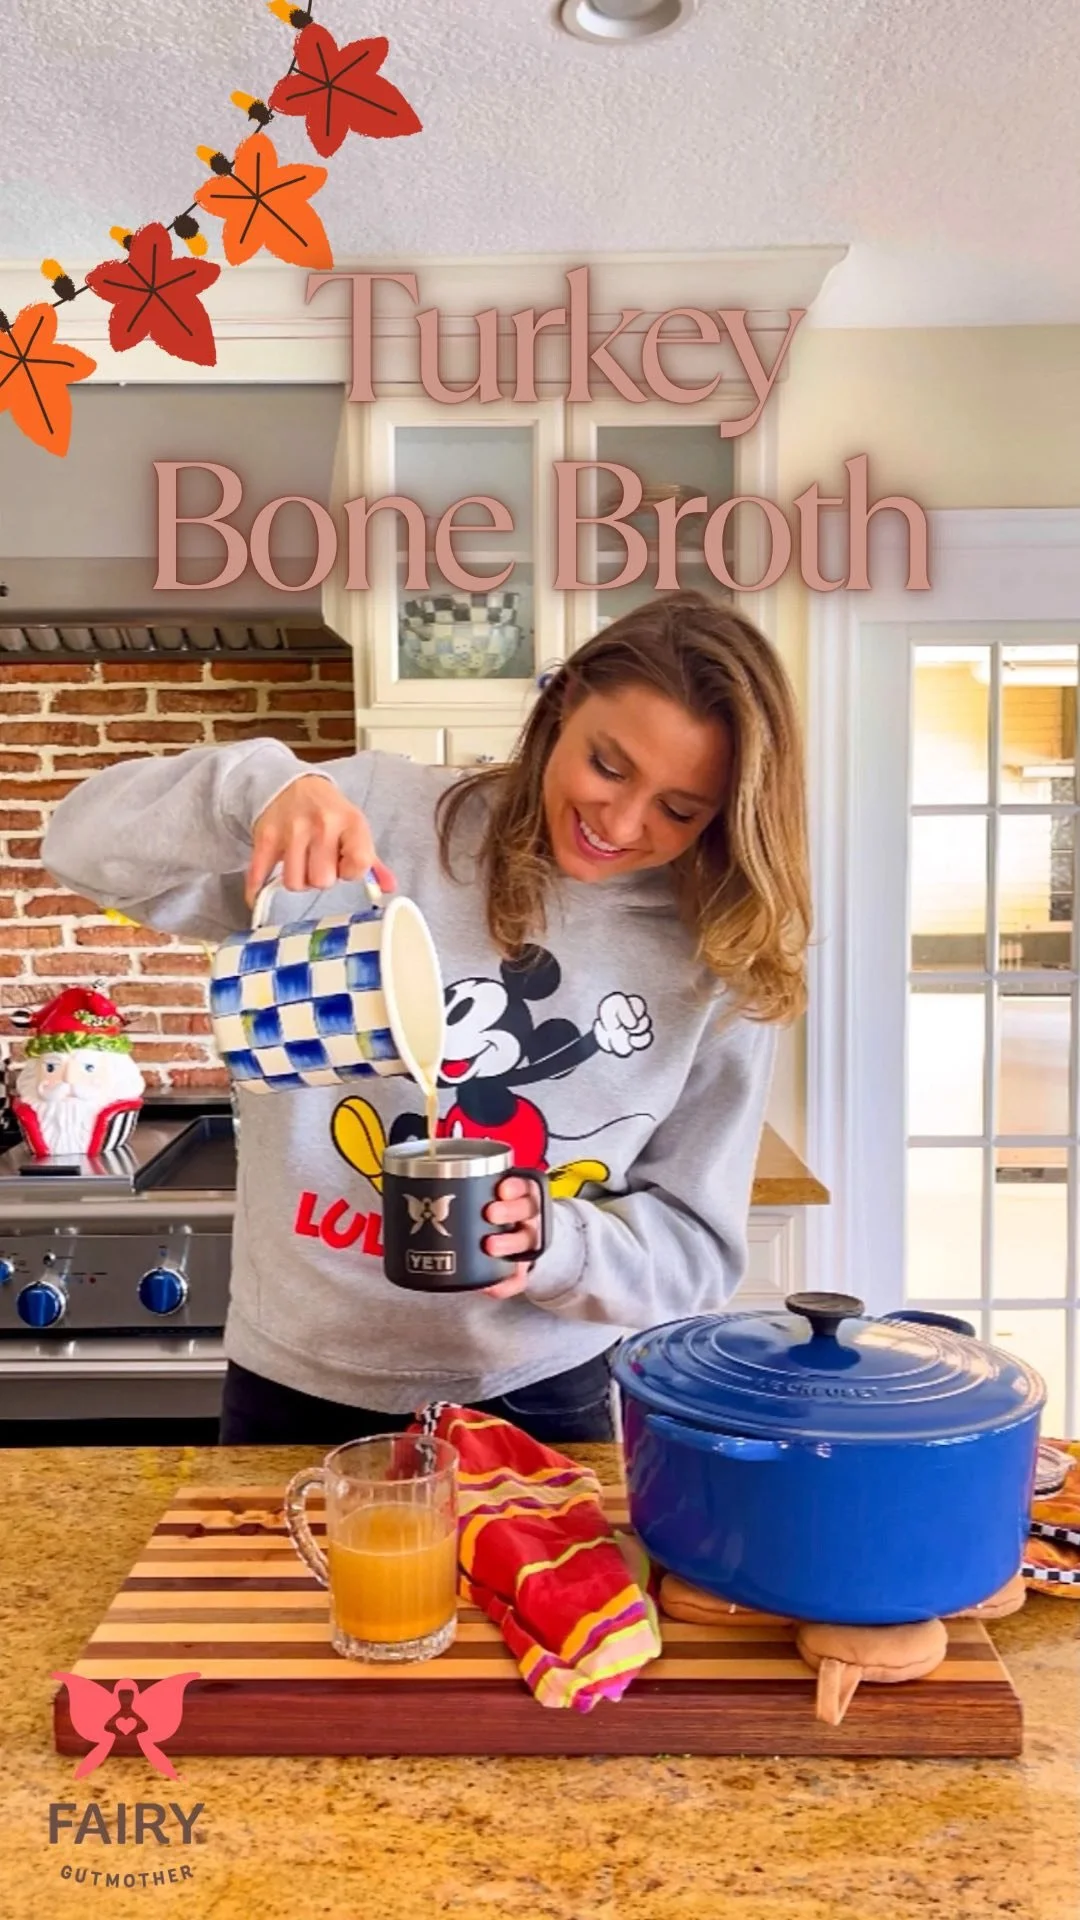
4 Ways To Love Your Guts: Bone Broth
/
I truly believe bone broth is the most nourishing and healing resource for your body. Bone broth is rich in gut healing nutrients like L-glutamine and collagen, which is important since nearly 80% of the immune system is located in the gut. I have written a blog post about the 3 Reasons Why You Should Be Drinking Bone Broth for more details on the many health benefits.
Bone broth can be a bit intimidating to make, especially if it is your first time. Here, I will be breaking down the process to making a delicious broth in just four simple steps.
Plus, make sure to check out my 2 part series on my YouTube Channel where I show you first, how to source your bones and which bones to use for your broth here. Then, I take you through my easy 4 step process on how to make the broth here!
Step 1: Pick Your Bones
Let me just start by saying it is incredibly important to ensure you have sustainably sourced bones, meaning they come from a source that is free of hormones and antibiotics and have been raised in a humane environment natural to their habitat. Remember, with bone broth, you are extracting all the nutrients from the bones, so if your animal has been fed a highly processed diet and living in inhumane conditions, those health issues are directly reflected in the broth. Generally, bones that are not well sourced will yield a green, foamy broth while those that are humanely raised will typically not have any impurities and yield a nice golden yellow broth. To find sustainable bones, check your local butcher shop or natural foods store. You can also order online with 5280 Meat, a premier online retailer of sustainable meats, and use code fairygutmother10 at checkout for 10% off your order for the entire month of February! They already have the bones bundled in pacakages to make it easier for ordering, too.

How to make bone broth in just 4 simple steps! 1. Pick your Bones 2. Choose your Fix-Ins 3. Add to pot 4. Fill with water and simmer
If this is your first time making a broth, I suggest starting with a whole chicken. This is more of a meat stock than a bone broth so is often easier to tolerate and less potent than a regular bone broth. The great thing about making a chicken broth is that once the chicken is cooked (about 3 hours or so in a slow cooker) you can remove the chicken from the bone and toss the carcass back in the slow cooker. So really, you’re getting a broth and meat for an added bonus! Another option would be roasting the chicken first and then using that carcass in a broth. Either way, chicken broth is very neutral and easy to sip on or use in any recipe.

Oxtail Broth
If you’re interested in transitioning between chicken broth and a bone broth, I suggest making a broth with oxtail. This is a great mixture between a meat stock and a bone broth and again, is still very mild in flavor. You can also use chuck roasts and pork shoulder roasts as a nice transition between a meat stock and a bone broth. If you are new to bone broth or have had a hard time with them in the past, using these larger roast cuts are great place to start. Cook them the same way you would cook the other broths (refer to image above for 4 steps) and when finished, reserve the liquid as your broth.
If you’re adventurous or ready to make the next step and interested in trying bone broth, I suggest using soup bones, knuckle bones, and/or marrow bones or even mixing one of these options with your oxtail. Any joint or connective tissues like knuckle bones or even chicken feet are going to be the most gelatinous, meaning it is full of the most gut healing nutrients like collagen and L.glutamine. These types of bones will also cause your broth to gel, which is completely normal. I typically recommend one large knuckle and either 1-2 soup bones, or 1 marrow bone. Additionally, you can do a large knuckle and an oxtail. Either way, these kinds of broths will be the most potent and are the best used in various recipes. Anytime you see the word water in a recipe you can likely replace it with broth. Broth is also great for making soups (we will talk more about that next week) as well as cooking your veggies in or even use in your
Those with leaky gut or other compromising conditions may not be able to initially tolerate bone broth due to the high amount of glutamic acid. Glutamic acid occurs in bone broth cooked for an extended period of time and can further complicate pre-existing health conditions. If you have adverse reactions to bone broth or suffer from severe nervous system disorders, it is best to start with a meat stock as I mentioned earlier like a chicken broth.
Step 2: Pick Your Fix-Ins
This is where I think people tend to get hung up. What in the world do I put in my broth?! Honestly, the answer is anything and everything. The “standard” broth fix-ins are a few stalks of celery, a couple carrots, onion, a few pinches of sea salt, 8-10 black peppercorns, and a couple bay leaves. However, you can add a variety of ingredients like fennel or even sweet potato for additional sweetness and flavor (I personally think sweet potato is excellent in knuckle broths). As for herbs, you can add in thyme, oregano, rosemary, basil…there are many possibilities. I recommend adding the veggies and spices that are to your liking.

Pick your fix-ins! Any veggies, herbs, and spices like fennel, onion, celery, carrots, black peppercorns, sea salt and bay leaves.
A few tips: Save your veggie scraps for your broth! I am talking about your carrot tops, stalks to fennel bulbs, celery tops, whatever you have, you can create a freezer bag and simply toss in the scrap pieces and pull them out next time you make a broth! Likewise, if you have veggies that you likely will not eat or perhaps you are getting ready to travel and can’t eat up everything in the fridge, toss them in the freezer for your next broth. Making a broth can be the best garbage disposal.
Also, for a brilliant color and more flavor, keep your onion peels ON while making the broth. Yep, that’s right. Chop the onion into quarters and toss them in the broth with the peels on. You can check out my oxtail broth recipe for more images of what I mean.
Step 3: Add Everything Together
Here’s the easy part. Add all the ingredients to your slow cooker or dutch oven. You can sauté the veggies in some ghee or grass-fed butter first or even roast the bones in the oven beforehand to lock in some additional flavor. Either way, throw it all together in this step.
Step 4: Fill With Water
Fill the pot with filtered water until about 2-3 inches from top of pot. If you are using a slow cooker, set on low for 24 to 42 hours, stirring occasionally. If you are using a stove top, bring to a boil, then allow to simmer for about 24 hours, stirring occasionally. You can also add in a splash of apple cider vinegar to extract a more nutrients from the bones as well.
Finally, strain and serve or use in various recipes. Stay tuned for next week’s post on my favorite base soups to make with these broths. Don't forget to use #ybcfgm to share your recipes and comment below to let me know how your broth turns out!

Lemon Chicken Bone Broth